This is a pretty cool technique for take images of real environments and making them appear to be a miniature of the real thing. This is done using Photoshop CS.
First picking a good photo will make the technique turn out better, here is a list of things I have found that work.
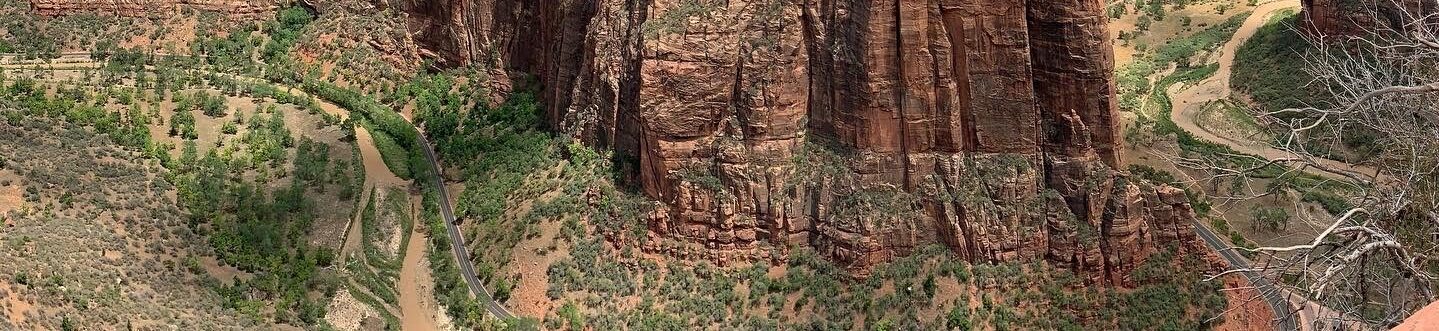
- Images taken looking down onto the scene.
- No horizon or a sky that is very uniform.
- Not having much in the foreground.
- Lighting that casts shadows to make it look like one source.

- Load your photo into Photoshop.
- Press “Q” to go into “Quick Mask” mode. This will allow you to quickly mask off an area of your photo to remain sharp.
- Press “D” which sets the colour palette to default (black foreground and white background).
- Select the Gradient tool from the main tool bar (may be hidden under the paint bucket).
- Set the Gradient tool to Reflected Gradient.
- Next, choose which area you want to be in focus (in this case it was the top of the pyramid). Click and drag the gradient tool from the point to the top of the image and let go. This is the part that requires a little trial and error to get right: try different points in the image, drag the tool different distances and even a different angles. In the example I did it slight off vertical.
- You should now have an area of the photo that is red. This will be the area that will left untouched.
- Press “Q” to leave quick mask mode. You should now have two areas to the photo selected (marching ants), below the point you selected and above.
- Go up to the “Filters” menu, scroll down to the “Blur” category – then select “Lens Blur”.
- In window that pops up you need to play with the following settings until you get a look you are happy with. Iris:Radius – controls the amount of blur, try something around 30. Specular Highlights:Brightness – controls how bright the blurred white points will be, try something around 20. Specular Highlights: Threshold – A what point a bright blurred area gets made white, try around 245. Again this is the part that take several attempts to get just right. When you are done click OK.
- Now deselect the two areas, should see the “marching ants disappear. (Under menu Select or pick the Marque tool and click on your photo)
- Bring up the “Hue / Saturation” Adjuster (Under Image->Adjustment or Ctrl-U or Apple-U). Increase the Saturation so it makes the colors in the image more vivid and bright, try something around 20. The idea it to give it a plastic look so play with it.

That is it. You can check out some examples in the miniature gallery.

